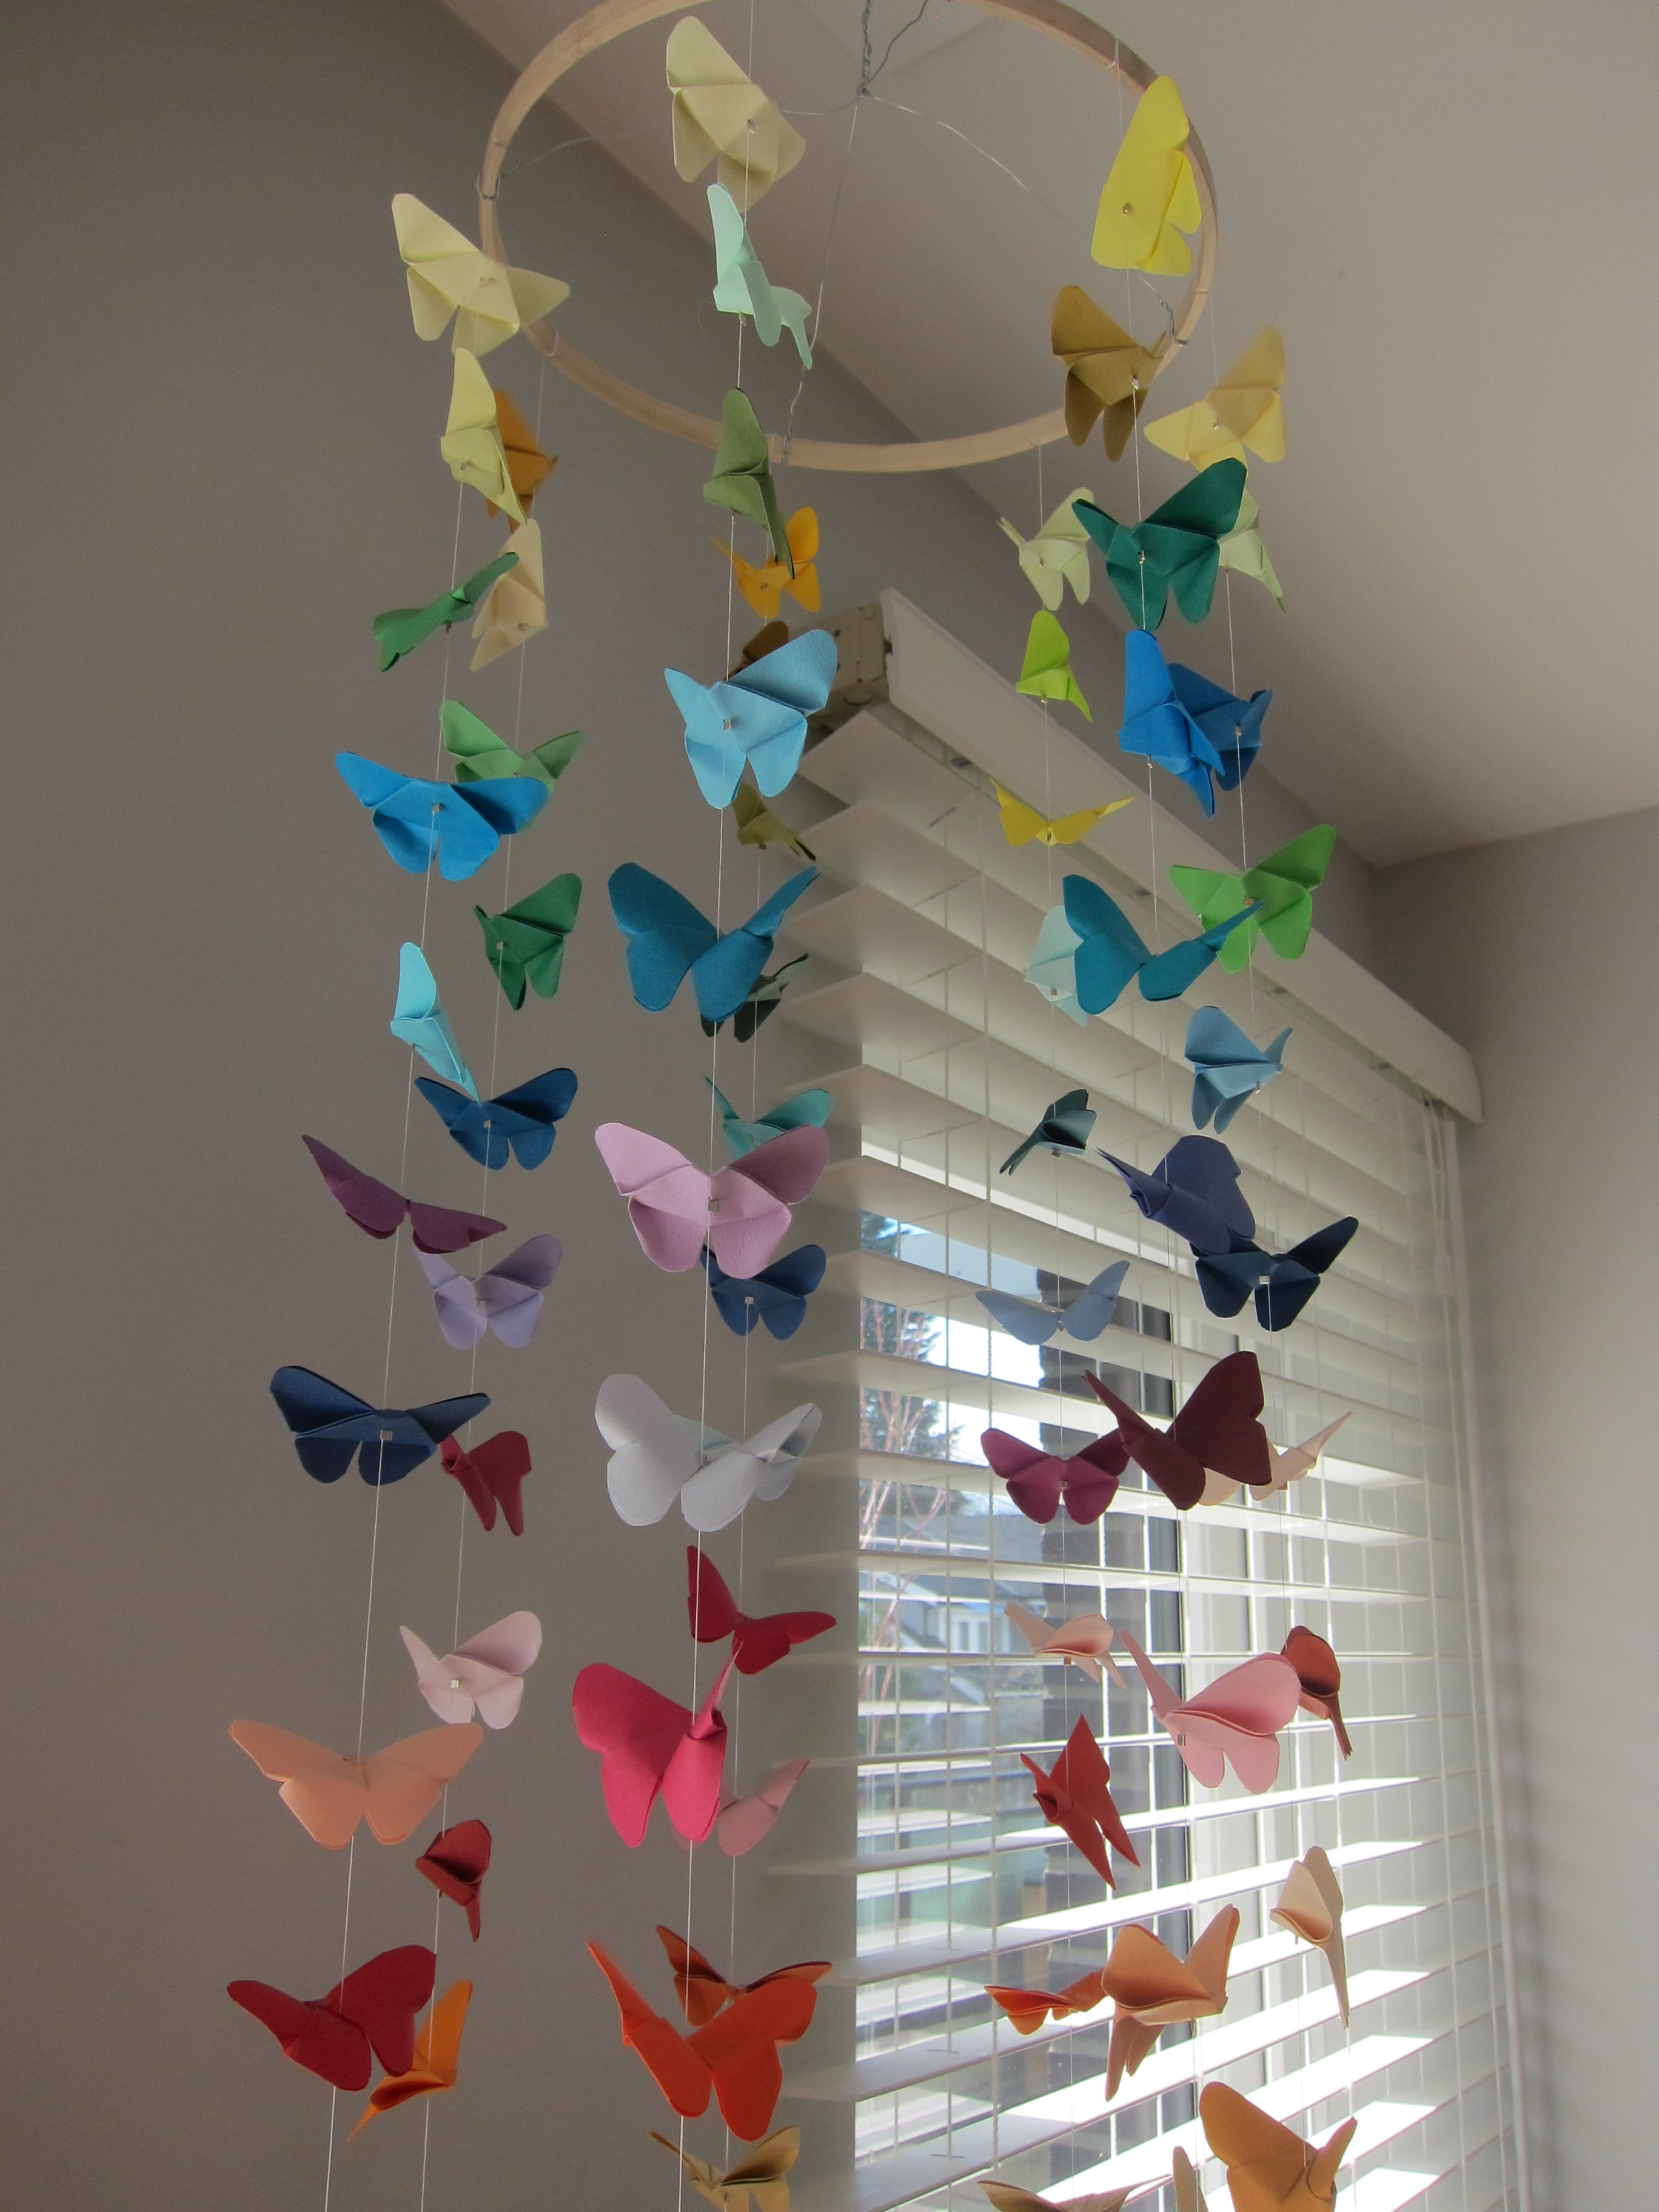
Over the holidays, my dad and I assembled this DIY origami butterfly mobile. I love it so much. This mobile is an object of ongoing beauty, gently twirling in my bedroom, and it is also a scale map of my creative process, which for me takes the shape of a labyrinth.
When I am depressed, and also when I am mentally stable but stressed and overwhelmed, I do not have the focus or energy for a long in-depth creative endeavour like a novel, or even an essay. But I need to practice my creativity to help me recover from stress and depression. It’s a Catch-22. How to do something artistic and fulfilling that I can manage?
That’s when I look for a mini-labyrinth: a highly structured small-scale creative project. This DIY origami butterfly mobile is a perfect example. In addition to being small and well-defined, I also prefer that a mini-labyrinth be cross-discipline (for me that means visual art, music, or dance, rather than writing), that it have some community element, and that it be meaningful and expressive of my values.
Let me illustrate by explaining the steps to make your own DIY origami butterfly mobile.

Supplies:
- origami paper
- nylon thread or monofilament
- wooden embroidery hoop
- crimp beads
- large beads
- wire
Step 1: Buy some paper

I made my mobile with a pack of 100 sheets of multi-coloured paper, 7.5 cm (3″) square. I found this paper in an enormous stationery shop in Hong Kong, across from the apartment where we were staying. This was during our three-week trip to China over March Break. My kids and I wandered the floors, enthralled, choosing our treasures carefully. I didn’t know yet what I would make from this paper but I knew it was special. So tiny! So many colours! So many possibilities!
You can buy your origami paper from Amazon, of course 🙂
Toyo Origami, Tant 7.5cm x 7.5cm, 100 Colors, 1 Each (007203)
Step 2: Sign up for #The100DayProject
#The100DayProject is a cool personal challenge with a big community component. The official website calls it “a free global art project that anyone can participate in.” You can sign up to get weekly prompts and announcements, or you can just post your photos with the hashtag.

Photo Source
The stars aligned for me on this. A week after arriving home from Hong Kong, I discovered that #The100DayProject was starting in just a few days. And I had exactly 100 pieces of origami paper. After a little research, I decided that I wanted to fold butterflies. (Cranes seemed too ubiquitous. Besides, spring and rebirth were on my mind.) I chose a custom hashtag, #100daysofbutterflies, to identify my project.
Step 3: Fold a butterfly
I followed the folding instructions from this origami butterfly tutorial, using scissors to round off the wings because I liked the way they looked.
Then I staged a photo and posted it on Instagram with the hashtags and a dedication to a special new friend.
This small act gave me a tremendous burst of joy and energy, which is a sign that this was a good mini-labyrinth for me.
Step 4: Get inspired
While I was looking for butterfly folds, I found this amazing origami maker in Australia, Peter Whitehouse, who was doing a fold every day in 2017! Some of them are incredibly intricate. I subscribed to his origami blog so I would get a steady supply of visual inspiration. (I was especially tickled when he went on a butterfly kick in June.)
 Photo Source
I also discovered a woman on Instagram doing #100daysofpaperrabbits with found materials from her home. So imaginative and adorable.
And there were butterflies in my neighbourhood too, in the window display of a Japanese clothing store and in the advertising for HSBC.


All of these sightings made me feel befriended — serendipitous signs that I was not alone in the world, but that there were people out there like me, folding paper, making something that held a little piece of themselves.
Step 5: Fold more butterflies
If you fold one butterfly a day, it will take you a little more than three months. If you want to fold them all at once, you can probably finish in a day or two.


My natural length of attention for a daily project is two weeks. I know this about myself. Still, I hoped that the structure and community of #the100dayproject would keep me going longer than that. Alas, no. After about 14 days I started to get behind. Some days I just forgot. Some days I was unhappy with the quality of my folds, or the originality of my photo styling. Some days I was travelling. A few times I caught up, folding and posting multiple butterflies in a day. But then I got a month behind, and then six weeks. Unphotographed butterflies accumulated on my desk.


Finally, two months into the project, I asked myself, “What is my goal for this project? What is central? Is it the photos? The dedications? The daily consistency? Or the butterflies themselves? How do I want to complete this?”
At the time, I couldn’t let go of any of those things. I wanted to finish thoroughly, the way I had started. I did try. I arranged all the folded, unphotographed butterflies on a calendar. I worked away at them for a few days. But I posted my last butterfly on June 2. I stopped folding altogether. I felt sad and guilty and flummoxed every time I looked at the pile of butterflies I kept in a glass vase.
Step 6: Enlist a partner
In December, my mom and dad arrived for a three-week visit and I knew there was hope for my butterfly mobile after all. My father is a retired dentist, very skilled with his hands, having sculpted many teeth over the years, who has now turned his attention to wood carving and paper crafts. He made an exquisite bird mobile for my daughter Lia, and I knew he had the interest and abilities to help me finish this particular project.
I also knew that I love getting immersed in a project, spending an intensely focused period of time to get it done. And I am more likely to apply myself when I’m working with someone else. So I was confident that this was the way to completion. I let go of photographing and dedicating the butterflies, let go of creating a photo book from my Instagram stream, and concentrated on the finished product: a mobile hanging in my room.
I presented my dad with the goal early on in our visit, and we spent some time planning and researching. I had bought some metal rings and monofilament at the bead store, but Dad showed me that the monofilament would not hold knots well, nor would it stay stable on the metal rings.
Then we came across the idea of using bead crimps thanks to this how-to for an origami crane mobile. Bead crimps were easier to use than knots and would allow us to be more precise with butterfly placement. We visited the bead store again to buy crimps, and also picked up some sample beads to use as weights, and some nylon thread to test.
We debated how many strings to make, how many butterflies would go on each string, and how far apart they would be spaced. I tried several arrangements — did I want all butterflies of one colour on a single string? Did I want them arranged by tone, with pastels at the top and brights at the bottom?

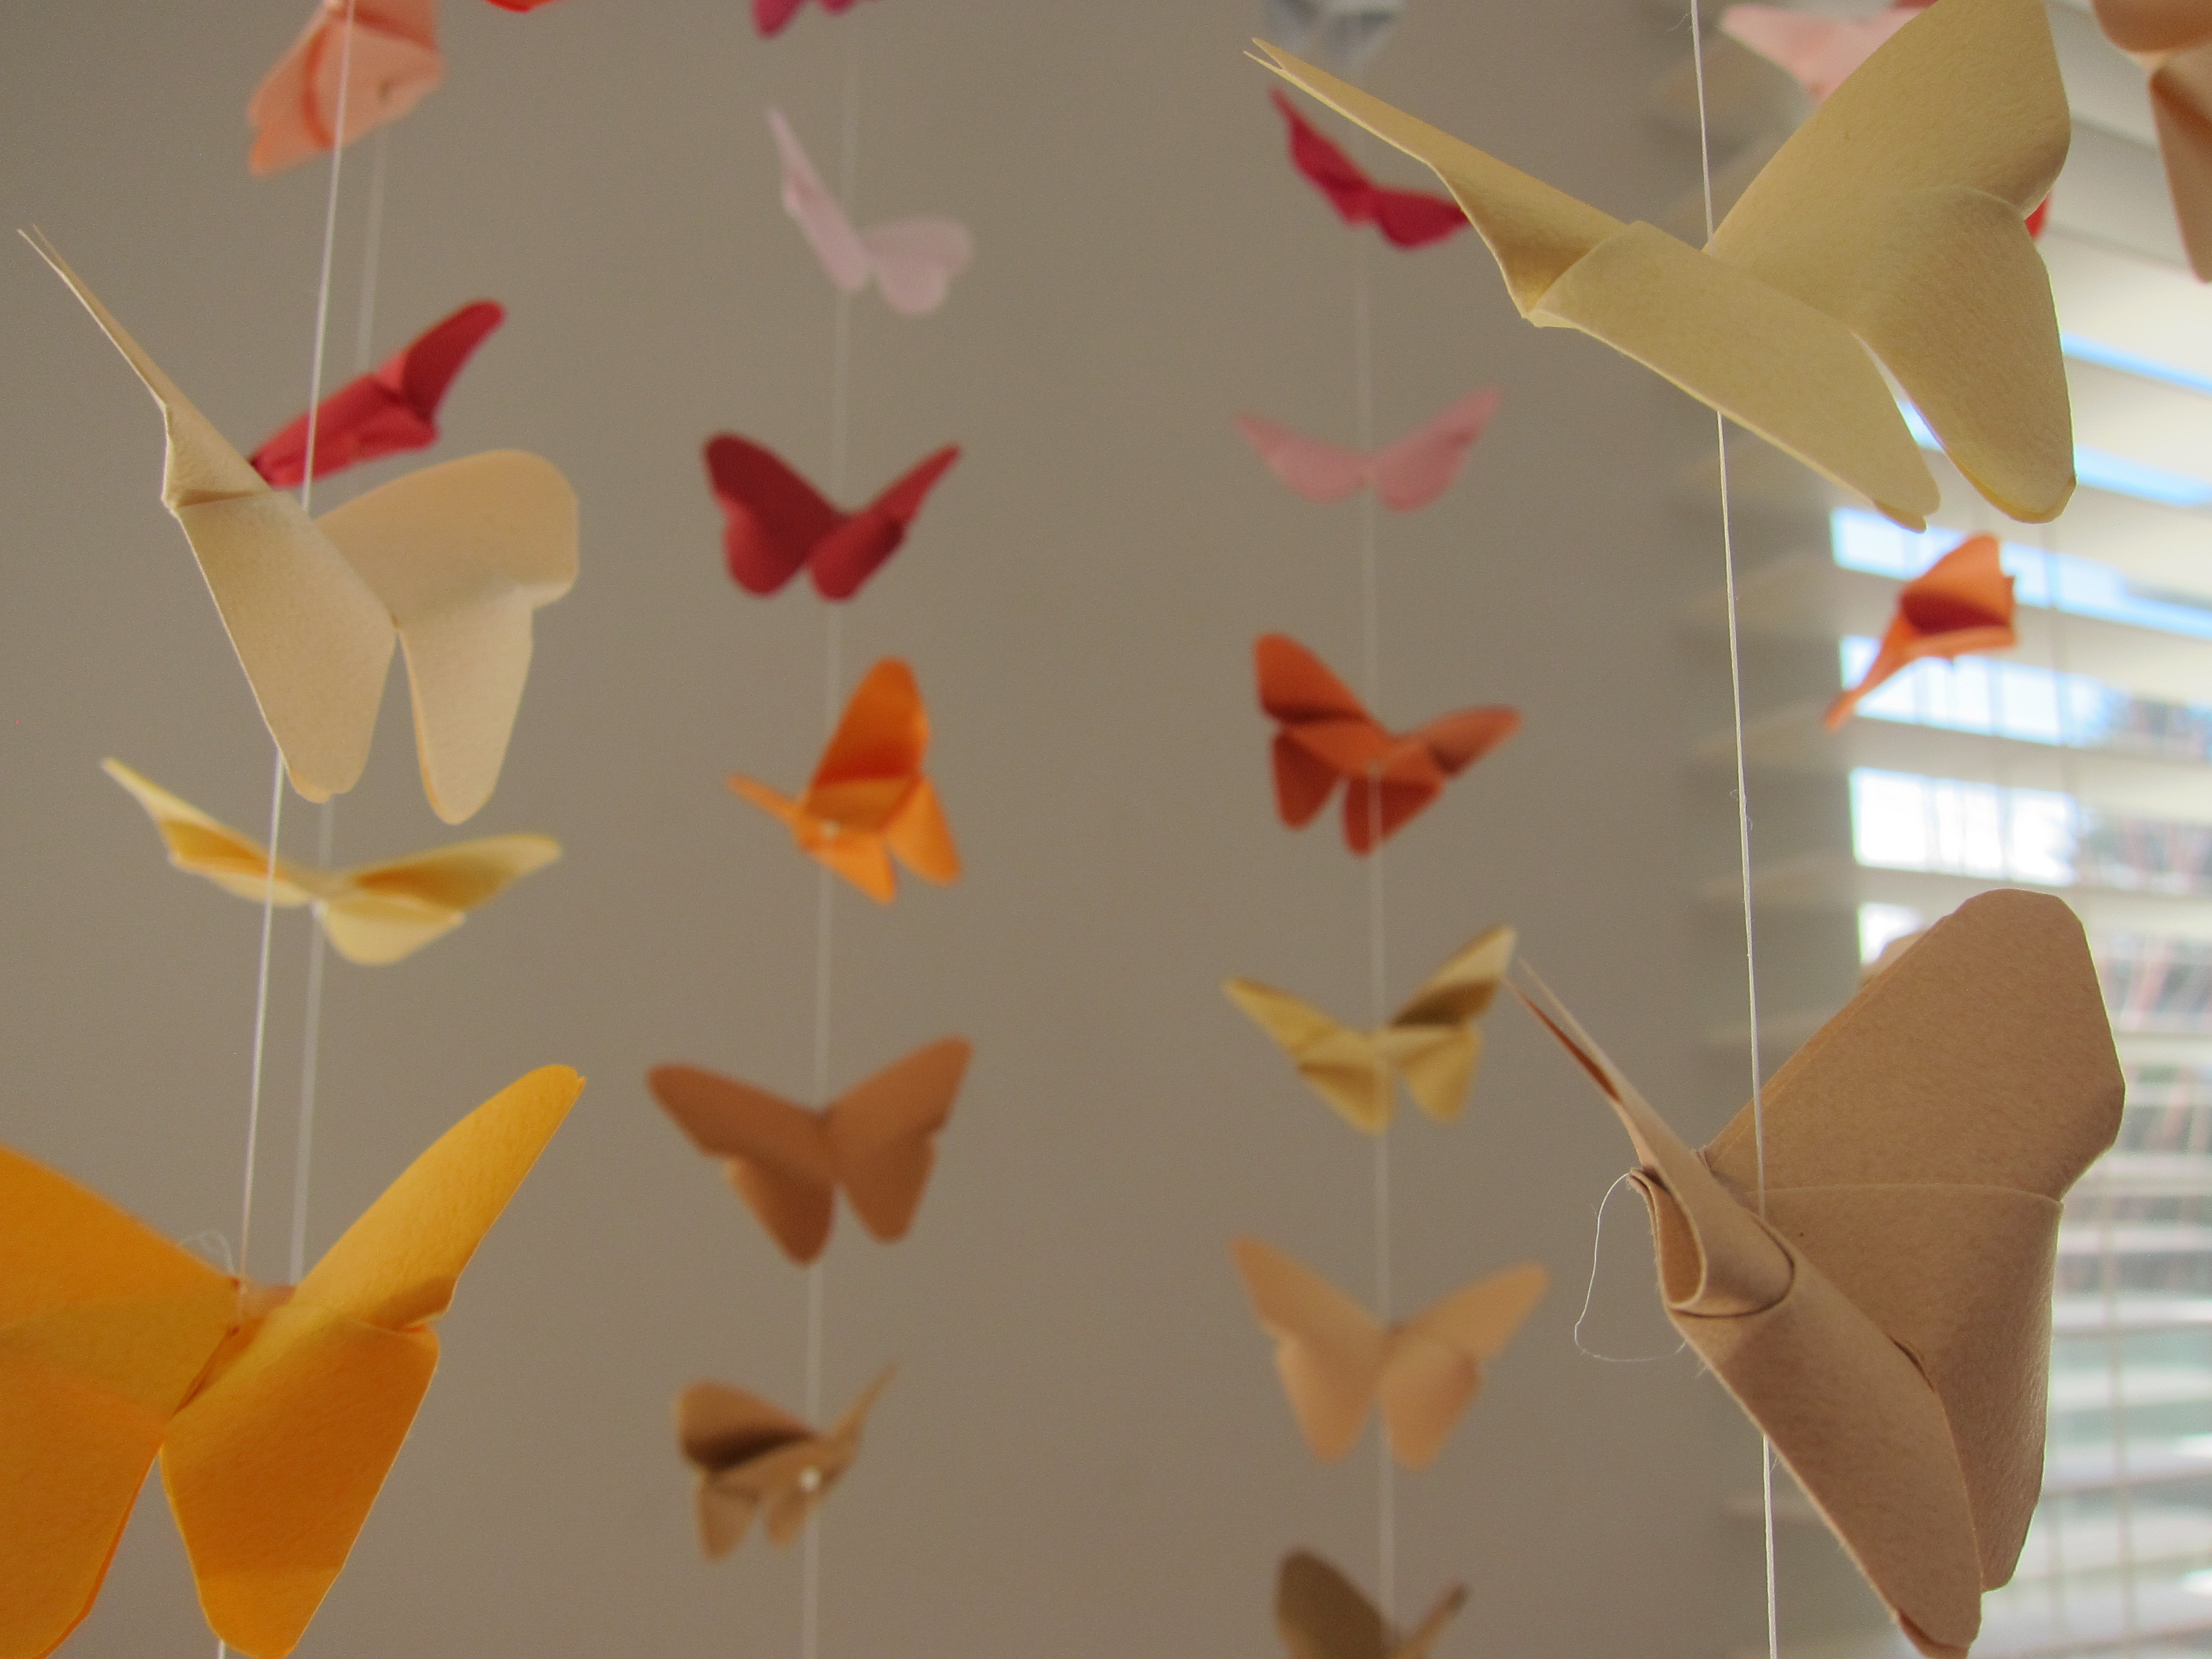
Finally, I settled on a gradient, with yellows at the top, transitioning to greens, blues, purples, pinks, and reds. This also meant that each individual string was its own mini-gradient.
I played with the colours, re-arranging to get the most contrast. I also decided not to fold butterflies from the grey and black paper at the bottom of the stack. I let go of making 100 butterflies and just kept the colours that made me happy.
After a few test strings, where we compared fastenings and considered spacing, we were ready to go.
Step 7: Assemble the mobile
Lay out seven strings of butterflies, which will give your mobile some asymmetry when it’s hanging. I varied the number of butterflies in a string from 10 to 14 so that the strings would be of different lengths.
Glue the butterflies with hot glue to keep it from coming apart in the mobile. We unfolded each butterfly’s “antenna” and used a tiny dot of glue underneath to secure it.
Cut a 50″ length of white nylon string. I chose the nylon string because it hung more naturally. But if you prefer your thread to be invisible, use monofilament.
Attach a crimp bead 5″ from the bottom of the string. We used silver-coloured crimp tubes but you could possibly use smaller round crimp beads. My dad created a little paper template and attached it to the table, to make the measurements easier. We used both needle-nosed pliers and some larger locking pliers to flatten the crimps enough so that they didn’t slide off the string.

(My dad’s poor hands! He provided all the muscle while I just held things. It took me back to the days when I would assist him at the dental office, handing him tools and suctioning while he worked.)
With a needle on the thread, pierce the bottom butterfly from bottom to top, in about the middle of the central fold. Push it down until it sits against the crimp bead.
Attach another crimp bead 2″ above the first butterfly.
Continue to string butterflies and attach crimps until you have seven completed strings. If you cut the string when you’re squeezing a crimp, as we did a few times, thread both ends of the cut string into the crimp bead, one from below and one from above, and squeeze the crimp to hold them together.

Thread an anchor bead on the bottom of each string. Attach a crimp as close to the bottom of the string as possible to hold the bead on.
Cut grooves into your embroidery hoop. We used the inner hoop (without the screw mechanism) from a 9″ embroidery hoop. Cut 7 evenly spaced grooves on one edge of the hoop — these will be used to anchor the strings. Cut 4 evenly spaced grooved on the other edge of the hoop — these will be used to anchor the hanging wire. My dad used his pocket knife as a saw to make the grooves.
Mark each string 2″ above the top butterfly with a black marker.
Wrap each string around the hoop in one of the pre-cut grooves, positioning the black mark at the top of the hoop. Wrap several times and then secure with a dab of hot glue. Continue until you have attached all seven strings.

Cut lengths of wire and attach to the 4 grooves at the top of the hoop. Twist the lengths of wire together to form a hanger.
Hang and enjoy!

There you have it, my latest creative project. I was so happy when I saw it hanging that I clapped my hands, jumped up and down, and gave my dad a big hug. I loved the process of collaborating with him, sharing ideas, evaluating methods, and crafting in extended companionable silence. Those feelings and memories come back to me whenever I watch the mobile from my bed.
Now, tell me about your mini-labyrinths.
What small creative projects have seen you through droughts and difficulties? I have more of mine to share with you, but I love seeing what others are doing. And please link to your projects! It would be fun to feature others here too.
P.S. I wish I had a better name than “mini-labyrinths.” I will think on that. Let me know if you come up with something.
P.P.S. This is my first blog post since my paperback was released last summer! You can now get my memoir, Pilgrimage of Desire: An Explorer’s Journey Through the Labyrinths of Life, in a form you can hold in your hands, highlight, dog-ear, and fill with margin notes.


{ 1 comment… add one }